Discover the ease of creating a stylish console table with detailed console table plans PDF. These guides offer step-by-step instructions, materials lists, and diagrams for a perfect DIY project.
Overview of Console Table Plans

Console table plans provide detailed blueprints for crafting stylish and functional furniture. From rustic to modern designs, these plans cater to various tastes and skill levels. Many include free PDF downloads, step-by-step guides, and material lists. Whether you’re using 2×4 lumber or reclaimed wood, these plans ensure precision and ease. They often feature customizable options, allowing you to tailor the design to your space. Perfect for entryways, living rooms, or hallways, these plans help you create a beautiful console table that enhances your home decor.
Benefits of Using PDF Plans for Console Tables
Using PDF plans for console tables offers clarity and convenience. These files provide detailed diagrams, measurements, and step-by-step instructions, ensuring accuracy. PDFs are easily printable or viewable on any device, making them ideal for workshop use. They often include material lists and cutting guides, saving time and reducing errors. Whether you’re a novice or experienced DIYer, PDF plans streamline the process, allowing you to focus on building a professional-looking console table with ease. Their portability and accessibility make them a valuable resource for any woodworking project.
Popular Sources for Free Console Table Plans
Find free console table plans on websites like Ana White, Shanty2Chic, and Anika’s DIY Life. These platforms offer detailed PDF guides, step-by-step tutorials, and material lists. YouTube channels and woodworking blogs also provide free plans, often with video instructions. Additionally, online communities like Reddit’s r/woodworking share user-created designs. Many sites cater to various styles, from rustic to modern, ensuring you can find a plan that fits your skill level and decor. These resources make it easy to start your DIY project with confidence and creativity.
Materials and Tools Required
Essential materials include 2×4 and 1×12 lumber, screws, and wood glue. Tools needed are a circular saw, drill, sander, and measuring tape for precise cuts and assembly.
Essential Lumber for Console Tables
Console tables typically require durable, straight lumber like 2x4s for framing and 1×12 or 1×8 boards for the table top. For a rustic look, consider 2×2 furring strips or reclaimed wood. Ensure all lumber is knot-free and properly sanded. Measure and cut accurately to fit your design. Pre-drill holes to avoid splitting. For modern styles, smooth, uniform boards work best. Always check for warping before use. Proper lumber selection ensures stability and a polished finish for your DIY console table project.
Tools Needed for Assembly
Assembling a console table requires basic woodworking tools. A circular saw or hand saw is essential for cutting lumber. Use a drill for pre-drilling holes to avoid splitting. A screwdriver or impact driver secures screws. Sanding is smoother with an orbital sander. Measure accurately with a tape measure and ensure alignment with a square. Clamps help hold pieces steady during assembly. Safety gear like gloves and goggles is a must. These tools ensure a precise and efficient build, even for beginners following console table plans PDF guides.
Hardware and Fasteners
Building a console table requires essential hardware and fasteners. Use wood screws for securing frames and tabletops. Wood glue reinforces joints for added stability. Decorative brackets or corbels can add support and style. For drawer or shelf options, include drawer slides or hinges. Consider decorative knobs or handles for functionality. Ensure all fasteners are weather-resistant if the table will be outdoors. Proper hardware ensures durability and enhances the overall design, as detailed in console table plans PDF guides for a professional finish.

Step-by-Step Guide to Building a Console Table
Building a console table is a fun DIY project! Start by cutting lumber to size, then assemble the frame using screws. Attach the tabletop securely, ensuring alignment. Sand and finish for a polished look, as detailed in console table plans PDF guides.
Preparing the Workspace and Materials
Start by clearing a spacious workspace and laying down a protective covering. Gather all materials, including 2×4 lumber for legs and 1×12 boards for the tabletop. Ensure tools like a circular saw, drill, and sandpaper are within reach. Organize hardware such as screws and wood glue. Double-check the cut list from your console table plans PDF to confirm all pieces are accounted for. Safety gear, like gloves and goggles, is essential. Measure and mark materials accurately before cutting to ensure a smooth assembly process.
Cutting and Assembling the Frame

Begin by cutting the lumber according to the measurements in your console table plans PDF. Use a circular saw for precise cuts. Assemble the frame by attaching the legs and shelves with screws and wood glue. Ensure the frame is square by measuring diagonals. Clamp pieces firmly before drilling pilot holes to avoid splitting. Sand all edges for a smooth finish. Double-check the alignment and tighten all joints securely. Refer to the PDF for specific assembly diagrams and instructions to ensure accuracy. This step sets the foundation for a sturdy and balanced console table.
Attaching the Table Top
Once the frame is assembled, position the tabletop evenly over it. Use screws and wood glue to secure the top, ensuring a flush fit. Pre-drill holes to prevent splitting. Clamp the tabletop firmly in place, checking alignment with the frame. Allow the glue to dry completely before tightening the screws. Sand the edges for a smooth finish. For added stability, attach aprons or supports beneath the tabletop. Refer to your console table plans PDF for specific attachment methods and spacing. This step ensures a sturdy and visually appealing console table. Proper alignment is key for a professional look.
Finishing and Sanding
Start by sanding all surfaces of the console table to ensure a smooth finish. Use progressively finer grit sandpaper, from 120 to 220, to remove imperfections. Wipe away dust with a tack cloth. Apply your chosen finish, such as stain, paint, or polyurethane, following the manufacturer’s instructions. Allow each coat to dry before applying the next. For a polished look, sand lightly between coats; Once the finish is complete, inspect the table for any imperfections and address them. Proper sanding and finishing enhance the durability and aesthetic appeal of your console table. This step is crucial for a professional result.
Design Styles for Console Tables
Explore various design styles, from rustic charm to modern minimalism, to suit your space. Farmhouse, industrial, and sleek designs offer versatility for any home decor preference.
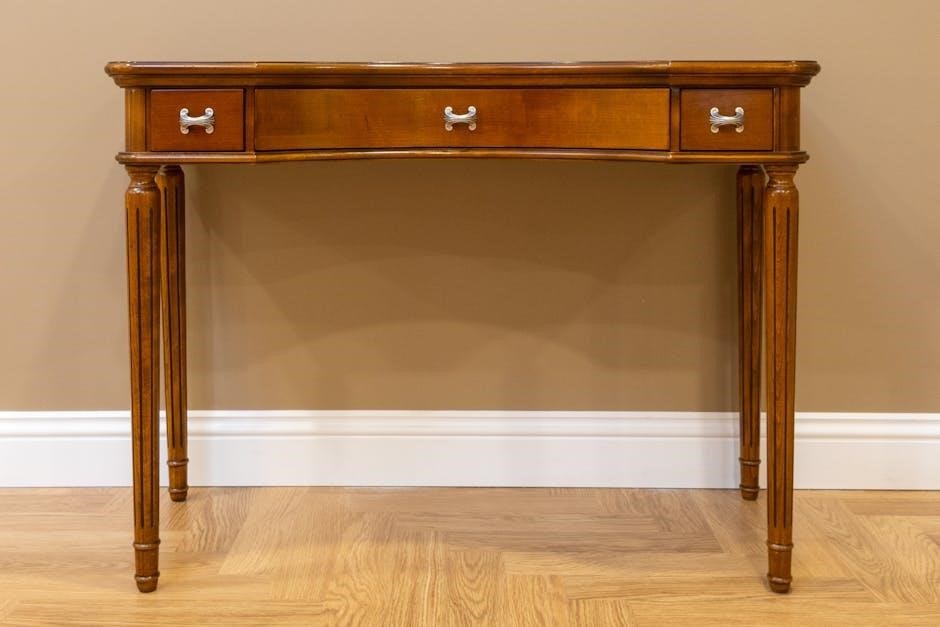
Rustic Console Table Plans
Rustic console table plans emphasize natural beauty and simplicity. Often featuring reclaimed wood, plank tops, and distressed finishes, these designs bring a charming, countryside feel to any space. Metal brackets or vintage hardware can enhance the rustic look. Plans typically include step-by-step instructions for creating a sturdy, timeless piece. Perfect for entryways or living areas, rustic consoles offer a cozy, organic aesthetic. Use inexpensive materials like pine or pallet wood to achieve an authentic, budget-friendly design that blends seamlessly with farmhouse or country decor.
Farmhouse-Style Console Tables
Farmhouse-style console tables blend rustic charm with functional design. Typically crafted from 2×4 lumber or reclaimed wood, these tables feature clean lines, plank tops, and metal brackets for a vintage aesthetic. Plans often include step-by-step instructions for building a sturdy, slim-profile table perfect for entryways or behind sofas. The rustic, country-inspired look pairs well with shiplap, mason jars, and other farmhouse decor. With easy-to-follow guides, you can create a beautiful, budget-friendly console table that adds warmth and character to your home.
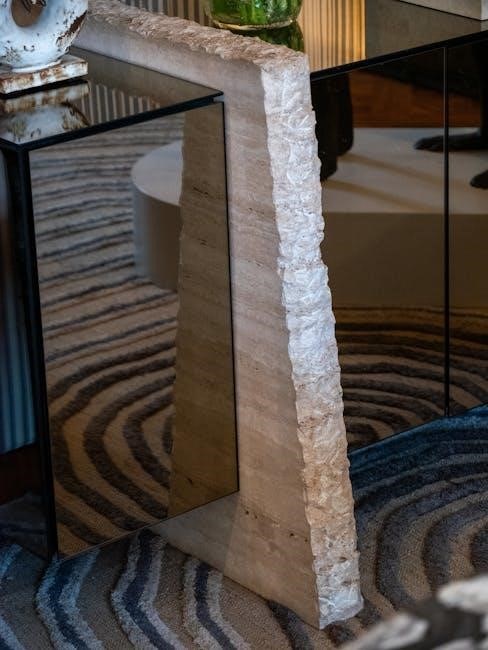
Modern and Minimalist Designs
Modern and minimalist console tables emphasize clean lines, simplicity, and functionality. These designs often feature sleek profiles, slim legs, and smooth surfaces, making them perfect for contemporary spaces. Plans typically incorporate materials like metal, glass, or engineered wood for a polished look. With a focus on versatility, these tables can be customized to fit tight spaces or serve as a statement piece. Their understated elegance complements any decor, offering a sophisticated solution for entryways, living rooms, or hallways while maintaining a clutter-free aesthetic.
Advanced Techniques and Customization
Elevate your console table with advanced techniques like adding storage compartments, incorporating metal or glass elements, and customizing with paint or stain for a unique, polished look.
Adding Storage Compartments
Add functionality to your console table by incorporating storage compartments. Use 2×2 lumber to frame shelves or drawers, enhancing practicality. Install baskets or cabinets for a stylish, organized space. Customize the design to fit your needs, ensuring the compartments blend seamlessly with the table’s aesthetic. This feature is ideal for entryways or living areas, providing a sleek way to store items like keys, mail, or decor. Detailed plans in PDF formats often include measurements and tips for a flawless installation.
Incorporating Metal or Glass Elements
Elevate your console table’s design by adding metal or glass elements. Metal legs or frames provide a modern, industrial look, while glass tops create a sleek, contemporary aesthetic. Use metal brackets or supports for added stability and style. Glass can be cut to size for a custom fit, offering a lightweight yet durable option. Many PDF plans include detailed instructions for integrating these materials seamlessly. This combination enhances functionality and visual appeal, making your console table a standout piece in any room.
Customizing with Paint or Stain
Personalize your console table with paint or stain to match your home decor. Use vibrant colors for a bold statement or opt for a natural stain to enhance the wood grain. Rustic, modern, or vintage styles can be achieved with the right finish. Apply a primer for even coverage and consider distressing for a weathered look. Multiple coats ensure durability, while a clear sealant protects the finish. Customizing allows you to create a unique piece that reflects your personal style and complements any room’s aesthetic.

Multimedia Resources for Console Table Plans
Enhance your DIY experience with YouTube tutorials, 3D models, and downloadable PDF templates. These resources provide visual guides, detailed plans, and step-by-step instructions for a flawless build.
YouTube Tutorials for Console Tables
YouTube offers a wealth of step-by-step tutorials for building console tables. From modern designs to rustic styles, these videos provide detailed guidance, tool lists, and tips. Watch experts demonstrate techniques like sanding, staining, and assembly. Many tutorials include free PDF plans and material lists, making it easy to follow along. Whether you’re a beginner or experienced DIYer, these videos offer inspiration and practical advice to help you create a beautiful console table that fits your home decor and budget.
3D Models and SketchUp Files
Enhance your DIY project with 3D models and SketchUp files for console tables. These digital resources provide detailed visualizations and precise measurements, ensuring accuracy. Many plans include exploded diagrams and material specifications, making assembly easier. SketchUp files allow you to customize designs before cutting wood. Perfect for visual learners, these tools help you understand the project’s structure. They complement PDF plans by offering a 3D perspective, making it easier to bring your console table vision to life with confidence and precision.
Downloadable PDF Templates
Downloadable PDF templates for console tables offer a convenient way to access detailed designs and instructions. These templates often include cut lists, measurements, and step-by-step guides, ensuring a smooth DIY experience. Many PDFs are customizable, allowing you to adjust dimensions or styles to fit your space. Whether you’re aiming for a rustic, modern, or farmhouse look, these templates provide a clear roadmap. They are perfect for beginners and experienced woodworkers alike, offering a hassle-free way to bring your console table project to life with precision and confidence.
Budget-Friendly Console Table Plans
Save money with budget-friendly console table plans using inexpensive materials like 2×4 lumber. These plans offer affordable designs without sacrificing style or functionality, perfect for DIY enthusiasts.
Building a Console Table Under $100
Construct a stylish console table without breaking the bank! Using affordable materials like 2×4 lumber, you can create a modern, functional piece for under $100. Plans often include step-by-step guides, ensuring even beginners can achieve professional results. Opt for a sleek design or add unique touches like a waterfall edge for a contemporary look. With free PDF plans and video tutorials, you can build a durable and elegant console table that fits your budget and enhances your home decor.
Using Inexpensive Materials
Save money by using budget-friendly materials like 2×2 furring strips or 1×12 boards for your console table. These affordable options are readily available at hardware stores and can be transformed into a stylish, durable piece. Many free PDF plans specifically cater to cost-conscious builders, offering designs that minimize material costs without sacrificing style. With a little creativity, inexpensive materials can create a beautiful and functional console table that enhances your home decor while staying within your budget.
Repurposing Old Furniture
Transform old furniture into a unique console table by upcycling materials like pallets, crates, or reclaimed wood. Many free PDF plans inspire creative repurposing, such as turning an old door into a table top or using vintage suitcases for storage. This eco-friendly approach not only saves money but also adds character to your space. For example, an outdated side table can be refinished and repurposed as a stylish console table. Get creative and breathe new life into discarded items with these innovative DIY ideas from console table plans PDF.

Troubleshooting Common Issues
Address wobbly frames, uneven surfaces, or weak joints with tips from console table plans PDF. These guides offer solutions to ensure stability and durability in your DIY project.
Fixing Uneven Surfaces
Identify uneven areas by placing the table on a level surface. Sand uneven sections lightly to smooth the wood. For deeper unevenness, use wood shims or fillers to balance the surface. Apply wood glue and clamp the area firmly, letting it dry completely. Once fixed, sand the surface again for a smooth finish. Ensure all legs are evenly cut and the frame is stable before reassembling. Regularly check and adjust to maintain balance and prevent wobbling. Proper alignment ensures the table remains sturdy and visually appealing.
Dealing with Measurement Errors
Measurement errors can lead to uneven cuts or misaligned pieces. Double-check all measurements before cutting lumber to ensure accuracy. If a piece is too short, consider using wood filler or shims to adjust the fit. For slight discrepancies, clamp pieces together and drill pilot holes for screws to align properly. Sand uneven edges to create a smooth finish. Taking breaks between cuts can help prevent fatigue-related mistakes. Always refer to your console table plans PDF for precise dimensions and guidance to achieve professional results.

Strengthening Weak Joints
To address weak joints in your console table, apply wood glue generously and clamp the pieces tightly. Use screws or wood filler to reinforce the connection. For added stability, consider adding brackets or metal brackets. Sand the area smooth after drying. If joints remain unstable, reinforce them with dowels or wood pegs. Proper clamping and alignment during assembly can prevent weak joints. Always follow the console table plans PDF for joint construction tips to ensure a sturdy and durable final product.
Complete your console table project with a final inspection, ensuring all joints are secure. Display your finished piece proudly, knowing you crafted it with care and precision.
Final Assembly and Inspection
Assemble all components carefully, ensuring proper alignment and secure fastening. Use clamps to hold pieces in place while tightening. Double-check for squareness and stability. Sand all surfaces to smooth out any rough edges or splinters. Inspect the table for any gaps or unevenness, addressing them before finishing. Once assembled, verify that the table is level and sturdy. Finally, apply your chosen finish, such as paint or stain, and allow it to dry completely before placing items on the table.
Displaying Your Finished Console Table
Your console table is now ready to enhance your home decor. Place it in entryways, behind sofas, or in narrow hallways for functionality and style. Add decorative items like vases, lamps, or photo frames to personalize the space. Ensure the table is level and secure to prevent tipping. For a polished look, pair it with complementary lighting or wall art. Show off your DIY project proudly, knowing it adds both beauty and utility to your living area. This piece is sure to become a focal point in any room.
Sharing Your DIY Project
Once your console table is complete, share your DIY achievement with friends, family, or online communities. Post photos or videos on social media platforms like Instagram or Pinterest, using hashtags like #DIYConsoleTable or #WoodworkingProjects. Join forums or groups dedicated to woodworking to inspire others and gain feedback. Sharing your project not only showcases your creativity but also helps others learn and grow. Consider writing a blog post or creating a tutorial to detail your process. Your finished console table is a testament to your skills—share it proudly and enjoy the satisfaction of creating something unique!

Additional Resources and Inspiration
Explore console table plans PDF on websites like Anika’s DIY Life for detailed guides. Find inspiration in YouTube tutorials, 3D models, and woodworking communities for unique designs and tips.
Books and Magazines for Woodworking
Enhance your woodworking skills with books like The New Yankee Workshop and Woodworking Magazine. These resources offer detailed plans, tips, and inspiration for console tables and other projects. Discover step-by-step guides, material lists, and expert advice to refine your craftsmanship. Magazines often feature seasonal designs and modern trends, while books provide in-depth techniques for creating custom furniture. These publications are invaluable for both beginners and experienced woodworkers, ensuring your console table project turns out perfectly.
Online Communities and Forums
Join online communities like Reddit’s r/woodworking and forums such as Woodworking Talk for console table inspiration and advice. These platforms offer free plans, tutorials, and tips from experienced woodworkers. Share your projects, ask questions, and learn from others. Websites like Anika’s DIY Life and Ana White also provide detailed guides and support. Engage with these resources to troubleshoot common issues and gain confidence in your DIY skills. They are invaluable for both beginners and seasoned craftsmen looking to create stunning console tables.
Inspiration from Professional Designs
Professional designs offer endless inspiration for console tables. High-end furniture pieces, like the $599 modern waterfall table, can be replicated at home using console table plans PDF. Designers like Ana White and Shanty2Chic provide affordable DIY alternatives. Explore styles from rustic to minimalist, and adapt them to fit your space. These designs often include detailed measurements and material lists, making it easy to create a polished look. Use these professional ideas as a starting point and customize them to match your personal style and budget for a unique, high-quality console table;